There's no photo for this one. Hopefully you can picture it's tawny-leading-to-slightly rosy hue, studded with mushrooms and swirled around pasta. If you can't, no worries. It isn't the most photogenic recipe in the world, anyway, especially when dealing with my photography, which doesn't do much to elevate the mundane.
There is not, however, anything mundane about this recipe. I've been making it for a few years now, and it was originally a riff on a Giada recipe that used chicken. I have no idea where that original recipe is, but it doesn't really matter, because we love this one
"It" is a mushroom-y, figgy, mascarpone-y pasta sauce that is just right when you need a big bowl of comfort. The sauce is rich and creamy, and just a tad bit sweet and a smidge tangy, with an assortment of mushrooms to add bite. The add-ins are up to you. Even better, if you don't like the prepared fig sauce that I use for ours, you can find one that you do like, or you can make your own fig "jam" from dried figs that you rehydrate and spin in a food processor until it's sticky and pasty. Mix that with a complementary liquid, and you're good to go.
Mushroom-Mascarpone Fig Sauce
strand pasta, cooked and reserved, with 1/2 cup cooking water also reserved (angel hair would probably be too delicate here, but anything else is a go)
olive oil
1 small onion, halved and cut into thin half moons
2 cloves garlic, minced
1 lb assorted fresh mushrooms, sliced (I like a mix of button, cremini, and trumpet for the different textures they bring)
1/4 cup white wine or vermouth
1/2 cup Stonewall Kitchen's Vidalia Onion Fig Sauce
4 oz mascarpone cheese
1 heaping tsp Dijon mustard
salt and pepper to taste
2 tbsp chopped fresh parsley
Optional (all, some, or none!): sauteed chicken breast, cut into bite sized pieces; 1/4 c dried figs, chopped; 1/4 c grated parmigiano for sprinkling on top
1. In a large skillet, heat the olive oil over medium. When shimmering, add the onion. Cook until softened and starting to turn golden, stirring frequently, about 5-7 minutes. Add garlic, cook, stirring, for two minutes.
2. Add the mushrooms, and maybe some more olive oil if the pan looks too dry. Stir the mushrooms in with the garlic and onion, and then spread in the pan into as uniform a layer as you can. You want to get some browning on the mushrooms. (There won't be much, since your pan will be pretty full and mostly steaming, but if you're patient and leave them be for a few minutes, you'll get some brown spots.) Leave for about 3-5 minutes, and when some of the bottom layer have browned somewhat, stir. Make a well in the center of the mushrooms, and add the wine. Cook, stirring occasionally, until most of the liquid evaporates.
3. Make another well in the mushrooms, and add the fig sauce, mascarpone, and dijon mustard. (Add the dried figs now, if using.) Stir them together, trying not to pull in too many of the mushrooms until you have an almost uniform sauce forming. Once the three have started to blend, mix the mushrooms into the sauce. (This isn't 100% necessary, but I've found the sauce comes together better this way.) Taste, and add salt and pepper to your liking. Stir in the parsley, and then add the pasta. Toss.
4. If the pasta seems a little dry, add the reserved pasta water, a tablespoon at a time, until desired consistency. If using, add in chicken and stir til warmed through. Sprinkle with parmigiano, and mangia!
Wednesday, February 29, 2012
Friday, February 24, 2012
It's a beautiful day...
for painting.


Painting isn't my first choice, but I haven't figured out how to animate our paintbrushes a la The Sorcerer's Apprentice yet, so I'll just have to do it myself.

Besides, the kitchen will look a lot better when this area looks a little less...industrial.
But first, sustenance. The larder looked pretty grim this morning, but with four ingredients, we pulled off a respectable breakfast. Corn tortillas, salsa, eggs, and cheese. Breakfast of champions.

Open-faced Breakfast Tortilla
2 corn tortillas
1/4-1/2 cup of your favorite salsa
1 tbsp butter
2 eggs
1/4 cup of shredded cheese (we used cheddar, but parmigiano, Monterrey Jack, Colby, etc. would be good)
1. Preheat oven to 350. Line a sheet pan with parchment paper. Lay the tortillas side-by-side on the parchment. Cover each with half of the salsa, smoothing it out not quite to the edges.
2. Heat a small nonstick skillet over medium-low heat. Melt butter and swirl to coat pan. Crack eggs into skillet and cook to your specifications--scrambled, over-easy, etc. However you cook them, slightly undercook them since they'll go a little longer in the oven. Slide the eggs (or portion them out, if scrambled) onto the tortillas.
3. Divide the cheese evenly over each tortilla, and bake for 5-8 minutes, until cheese is melted and the tortilla edges are a little crispy.
Sunday, February 19, 2012
Only six months...
until I can have another homegrown tomato.
You should be very impressed that I didn't burst into tears as I typed that. I certainly thought about it.
Larry and I went out to a great restaurant last night, The Fireplace, in Brookline. They cook seasonally, so roasted root vegetables, hearty braises, and cheesy soups and polentas are all over the menu right now. Dinner was wonderful. But it was missing a certain something...


 I'm embracing the season. Really. In fact, winter has been quite loveable this year, treating us gently and to a lot of sunshine. I've found a new chili/stew that I adore--Butternut Squash, Black Bean, and Beef, and I've braised up a storm.
But I can't grow tomatoes. And I really, really want to be growing tomatoes.
I take some comfort in the fact that I'll be starting seeds indoors soon, and for the first time I'm going to attempt tomatoes from seed. I'm also hedging my bets, and I bought some seedlings (I'm no fool). It will be good to have my hands in the dirt, and have plants to fuss over, unlike the sturdy houseplants we have that need no fuss.
But, heavens. I'm still six months away from a homegrown tomato!
I think I'll go drown my sorrows in jar of the straight-up sauce I put by last summer, and continue to muddle through somehow.
You should be very impressed that I didn't burst into tears as I typed that. I certainly thought about it.
Larry and I went out to a great restaurant last night, The Fireplace, in Brookline. They cook seasonally, so roasted root vegetables, hearty braises, and cheesy soups and polentas are all over the menu right now. Dinner was wonderful. But it was missing a certain something...


But I can't grow tomatoes. And I really, really want to be growing tomatoes.
I take some comfort in the fact that I'll be starting seeds indoors soon, and for the first time I'm going to attempt tomatoes from seed. I'm also hedging my bets, and I bought some seedlings (I'm no fool). It will be good to have my hands in the dirt, and have plants to fuss over, unlike the sturdy houseplants we have that need no fuss.
But, heavens. I'm still six months away from a homegrown tomato!
I think I'll go drown my sorrows in jar of the straight-up sauce I put by last summer, and continue to muddle through somehow.
Wednesday, February 15, 2012
30 Minute Meals. Psssh...try 10.
I must confess. I cheated. I had dinner at Panera tonight. I wasn't going to, really. But then my friend got a salad, and it was fresh--not previously frozen--green things. And, well, I caved. Who knew lettuce could be so wonderful.
BUT!
This must count for something. Larry was home waiting for dinner, so when I got home, I made the from-the-pantry meal I had been planning. I just didn't eat it with him. Though, dear reader, I did contemplate--briefly--lying and saying I hadn't eaten, so I could boast about my eating-at-home streak. But summer will come, and I won't want to wear a parka in July, so I didn't. Also, because there are limits to even my insanity.
 Dinner was Pasta with White Beans, Kale, Artichokes and Tomato Sauce. And because it was mostly from the freezer, it was ready in about ten minutes. Not too shabby. The nice thing about tomato sauce is that if you add things like fresh garlic and onions, it doesn't taste like it came from a freezer or pantry. This was a little briny from the artichoke hearts, chewy from the kale and pasta, and creamy from the beans and tomatoes. And these ingredients, especially the beans, tomatoes, and kale, are made for each other. Add a sprinkling of Pecorino-Romano cheese, and it's a filling dinner for a cool winter night.
White Bean, Kale, Artichoke Tomato Sauce
2 tbsp olive oil
1/2 onion, chopped
1/2 tsp red pepper flakes
1 garlic clove, minced
1 cup chopped kale (mine was previously frozen and defrosted; if you're using fresh, this is probably half of a bunch)
1 1/2 tbsp tomato paste
2 cups crushed (or whatever--diced, sauce, etc.) tomatoes
1 can (or defrosted equivalent) of cannellini or other white beans
3 artichoke hearts, from a 15 oz can, drained and chopped
salt and pepper to taste
1. Heat olive oil in a large skillet over medium heat. Add onion, red pepper flakes, and stir, about two minutes, until onion begins to soften. Add garlic, stir, one minute.
2. Add kale to skillet, sprinkle with salt, and cook, stirring occasionally, for about three minutes (if previously frozen; if fresh, make it about six-seven).
3. Add tomato paste and stir through. Add tomato sauce, beans, and artichoke hearts. Bring to a low boil, reduce heat, and cook until sauce is thickened to your liking, 5-7 minutes. Add salt and pepper to taste. Serve over pasta.
BUT!
This must count for something. Larry was home waiting for dinner, so when I got home, I made the from-the-pantry meal I had been planning. I just didn't eat it with him. Though, dear reader, I did contemplate--briefly--lying and saying I hadn't eaten, so I could boast about my eating-at-home streak. But summer will come, and I won't want to wear a parka in July, so I didn't. Also, because there are limits to even my insanity.

White Bean, Kale, Artichoke Tomato Sauce
2 tbsp olive oil
1/2 onion, chopped
1/2 tsp red pepper flakes
1 garlic clove, minced
1 cup chopped kale (mine was previously frozen and defrosted; if you're using fresh, this is probably half of a bunch)
1 1/2 tbsp tomato paste
2 cups crushed (or whatever--diced, sauce, etc.) tomatoes
1 can (or defrosted equivalent) of cannellini or other white beans
3 artichoke hearts, from a 15 oz can, drained and chopped
salt and pepper to taste
1. Heat olive oil in a large skillet over medium heat. Add onion, red pepper flakes, and stir, about two minutes, until onion begins to soften. Add garlic, stir, one minute.
2. Add kale to skillet, sprinkle with salt, and cook, stirring occasionally, for about three minutes (if previously frozen; if fresh, make it about six-seven).
3. Add tomato paste and stir through. Add tomato sauce, beans, and artichoke hearts. Bring to a low boil, reduce heat, and cook until sauce is thickened to your liking, 5-7 minutes. Add salt and pepper to taste. Serve over pasta.
Sunday, February 12, 2012


Saturday, February 11, 2012
What the day has wrought
Today, unless I was cooking, I was parked on the couch. Some days we just need that. I'll just have to remember to flip the cushion that I spent so much time on...I'd hate for my lack of activity to be so immediately obvious!

I was able to get ahead on the week in between couch visits by roasting turnips, butternut squash, celeriac, potatoes, and carrots, and boiling beets. (Roasting is good couch-potato cooking.) I used some in tonight's brisket, (Ditto the brisket.) but the rest will be quick sides or ingredients for dinners.
The brisket, a Tyler Florence recipe, was wonderful. Perfect gray-day food. And it's hard not to love something that fills the kitchen with the smell of rosemary and garlic. Here's the link:
http://www.foodnetwork.com/recipes/tyler-florence/beef-brisket-recipe/index.html
 Those fancy-schmancy steak houses can keep their filets and t-bones. Give me meat that's falling apart anytime! Sometimes slow-cooking a tougher cut of meat can leave the meat dry, even though it's braising in a liquid, but this brisket was moist and crazy-tender. There are two cups of red wine in the recipe, and two cups of tomatoes, but everything simmers for so long that the flavors are round, beefy, and juicy.
 I served it with a Maple-Pecan Oat Muffin from one of my favorite cookbooks, Maple Syrup Cookbook: Over 100 Recipes for Breakfast, Lunch, and Dinner by Ken Haedrich. (I actually made them for breakfast tomorrow, but they smelled so good...and there
 are were twelve of them, so we still have some for breakfast.) I highly recommend this cookbook, particularly if you like maple syrup as much as Larry and I do, but even if you only like it a little, these recipes are brilliant.
We ate the muffins warm, and they were densely fluffy, if that makes any sense. I suspect that cold they'd be a little less appealing, but that's why the universe contains toaster ovens. The maple syrup is a background note, though the muffins smell really maple-y. I tried doing what I sometimes do with wine--taking a bite and breathing in the aroma at the same time--but, well, let's just say that's not a great idea with things that crumble...come to think of it, it doesn't always turn out so well with the wine either...
Aren't you sorry you don't have me around for when there's nothing on television?
The original muffins called for walnuts, but I LOVE pecans and maple together, so I swapped. They come together in no time flat (as long as you have all the stuff...and we've already discussed the state of my pantry...)
Maple-Walnut (or Pecan) Oat Muffins
recipe by Ken Haedrich
1 1/4 cups old-fashioned oats
1 cup whole-wheat flour
1/2 cup unbleached or all-purpose flour
1 tsp baking powder
1 tsp baking soda
1 tsp salt (I went a little shy on this)
2 eggs
1 cup buttermilk
1/2 cup pure maple syrup (it doesn't specify, but I used grade B)
1/4 cup vegetable oil
1/2 cup finely chopped walnuts or pecans
1. Preheat oven to 400 F. Grease a 12 cup muffin tin and set aside.
2. Process the oats in a food processor or blender until they are reduced to a coarse powder; it's okay if some larger flakes remain. Measure exactly one cup of this oat flour and combine it in a large bowl with the other flours, baking powder and soda, and salt. Whisk together.
3. Beat the eggs in a medium bowl, and add in buttermilk, maple syrup, and oil. Make a well in the dry ingredients and pour in the wet. Stir just until combined. Fold in nuts. Divide among muffin cups.
4. Bake for 20 minutes (mine took 16), or until golden. Serve hot or warm.

I was able to get ahead on the week in between couch visits by roasting turnips, butternut squash, celeriac, potatoes, and carrots, and boiling beets. (Roasting is good couch-potato cooking.) I used some in tonight's brisket, (Ditto the brisket.) but the rest will be quick sides or ingredients for dinners.
The brisket, a Tyler Florence recipe, was wonderful. Perfect gray-day food. And it's hard not to love something that fills the kitchen with the smell of rosemary and garlic. Here's the link:
http://www.foodnetwork.com/recipes/tyler-florence/beef-brisket-recipe/index.html


We ate the muffins warm, and they were densely fluffy, if that makes any sense. I suspect that cold they'd be a little less appealing, but that's why the universe contains toaster ovens. The maple syrup is a background note, though the muffins smell really maple-y. I tried doing what I sometimes do with wine--taking a bite and breathing in the aroma at the same time--but, well, let's just say that's not a great idea with things that crumble...come to think of it, it doesn't always turn out so well with the wine either...
Aren't you sorry you don't have me around for when there's nothing on television?
The original muffins called for walnuts, but I LOVE pecans and maple together, so I swapped. They come together in no time flat (as long as you have all the stuff...and we've already discussed the state of my pantry...)
Maple-Walnut (or Pecan) Oat Muffins
recipe by Ken Haedrich
1 1/4 cups old-fashioned oats
1 cup whole-wheat flour
1/2 cup unbleached or all-purpose flour
1 tsp baking powder
1 tsp baking soda
1 tsp salt (I went a little shy on this)
2 eggs
1 cup buttermilk
1/2 cup pure maple syrup (it doesn't specify, but I used grade B)
1/4 cup vegetable oil
1/2 cup finely chopped walnuts or pecans
1. Preheat oven to 400 F. Grease a 12 cup muffin tin and set aside.
2. Process the oats in a food processor or blender until they are reduced to a coarse powder; it's okay if some larger flakes remain. Measure exactly one cup of this oat flour and combine it in a large bowl with the other flours, baking powder and soda, and salt. Whisk together.
3. Beat the eggs in a medium bowl, and add in buttermilk, maple syrup, and oil. Make a well in the dry ingredients and pour in the wet. Stir just until combined. Fold in nuts. Divide among muffin cups.
4. Bake for 20 minutes (mine took 16), or until golden. Serve hot or warm.
More pantry cooking

Pretty purple gazing ball not-withstanding, today is kind of gray. It has been snowing since we woke up, but it's too warm for any to really stick as of yet. Days like this call for a warming breakfast. I poked around in pantry and fridge, and voila!
This morning's coup? Chorizo, Zucchini, Cheddar, and Onion Waffles. It's almost four hours after breakfast, and the house still smells amazing. This is a waffle recipe I use over and over, from Rachael Ray. The original is a Grilled Cheese and Chicken Sausage Waffle, but I hate crossing the same territory twice when experimentation is possible, so the variations have been endless: Canadian bacon, regular bacon, different cheeses, sometimes corn and jalapenos, sometimes chives...you get the picture. As long as you stick to the measurements called for in the original recipe you should be in good shape. And your house will smell heavenly regardless of the version you attempt. Here's the link if you're interested:
http://www.rachaelraymag.com/recipes/rachael-ray-magazine-recipe-search/budget-recipes/grilled-cheese-and-chicken-sausage-waffles
Friday, February 10, 2012
The On-Hand Challenge

If television producers were to come look in my pantry and freezer, I feel fairly certain that I would qualify for "Hoarders". I'm not sure where the fear of running out of things comes from, but if I get down to two cans of salmon, I feel like I have to stock up. This could make a lot of sense.
If I actually ate canned salmon more than once every month or so.
It's not that I don't like canned salmon. I love it, or else why panic that I'll run out, right? The problem is that canned salmon is not the only thing I'm stocked up on, and so it only winds up in the rotation occasionally. And when fresh vegetables are in season, the canned salmon is not as appealing. Sorry, Mr. Fish. You'll lose to a fresh tomato and basil sauce any day.
But the other day, when I was sliding out one of the pantry doors to check on pasta levels, the sliding drawer collapsed out of its track. I believe it might have been trying to send me a message. Since the subtlety of the cans falling over and barely fitting wasn't working, perhaps?
This week, I set myself the challenge of not having to shop for any ingredients except maybe dairy. (It doesn't freeze or keep as well, so I cut myself some slack there.) So far, so good. Monday we were on the road, so we ate out. Tuesday, we had a fruited quinoa salad stuffed into acorn squash halves; Wednesday we had tacos made with ground beef, frozen spinach, and one of the dwindling supply of butternut squash; Thursday we had the eggplant, etc. panini, and tonight we had the bulgur and chickpea salad you see above. The only thing I bought was goat cheese to go in the quinoa salad.
It worked so well (and my pantry drawers are still so full) I'm going to try again for next week. On deck: beef brisket, pasta putanesca, pasta with beans and tomatoes, and, yup, salmon cakes. The brisket is just under three pounds, so it will serve us twice for dinner and twice for lunch, with some probably left over to add to a soup.
The benefit to a stocked pantry and freezer? Dinner comes together really easily. As long as you're not reconstructing the pantry shelves every time you pull them out.
Bulgur, Chickpea, and Shrimp Salad
(inspired by something I've read, I'm sure, but mostly by what was on hand)
serves two, with leftover salad (but not shrimp)
1/2 c bulgur wheat
1 1/2 c. boiling water
1/3 c sliced sun-dried tomatoes (if not packed in oil, rehydrate for ten minutes in boiling water--I used dry-packed because I love how they stay so chewy)
1- 15 oz. can of chickpeas, rinsed and drained
1-15 oz. can of artichoke hearts (use as many as you like; I used three), hearts cut into eighths
1 small shallot, very thinly sliced and separated into rings
grated rind of one lemon 2 oz feta cheese, crumbled
fresh herbs, chopped--I had a tiny bit of parsley left, so I used that, but mint and/or basil would be great
1/4 c fresh lemon juice
1/3-1/2 c olive oil
salt and pepper to taste
pinch of dried oregano
8- 16/20 size shrimp, shells on but deveined (mine were frozen and defrosted overnight in the fridge, but if you're not having your own personal pantry challenge, feel free to use fresh!)
1 tbsp olive oil
Preheat oven to 350.
1. Bring the 1 1/2 cups water to a boil, place bulgur in a glass bowl, pour boiling water over. Cover with a towel and let sit while you get everything else ready, at least 20 minutes. Do the same with the sun-dried tomatoes if they're not oil-packed.
2. Toss together the chickpeas, artichoke hearts, shallot, and lemon rind in a large bowl.
3. In a small bowl or glass jar with a lid, add the lemon juice, salt and pepper to taste, oregano, and olive oil. Mix until emulsified.
4. Toss the shrimp with the olive oil and some salt and pepper. Lay flat on a baking sheet, and roast for about 15 minutes, or until done to your liking. Start checking at 10 minutes. Cool slightly, and peel.
5. If the bulgur hasn't absorbed all the water, drain well. Add to the chickpea mixture, along with the lemon dressing and any fresh herbs. Toss well. Add the feta, and toss gently. Taste for salt and pepper.
6. Serve the salad with four shrimp on each plate.
Thursday, February 9, 2012
What do you mean, I've got too much time on my hands?
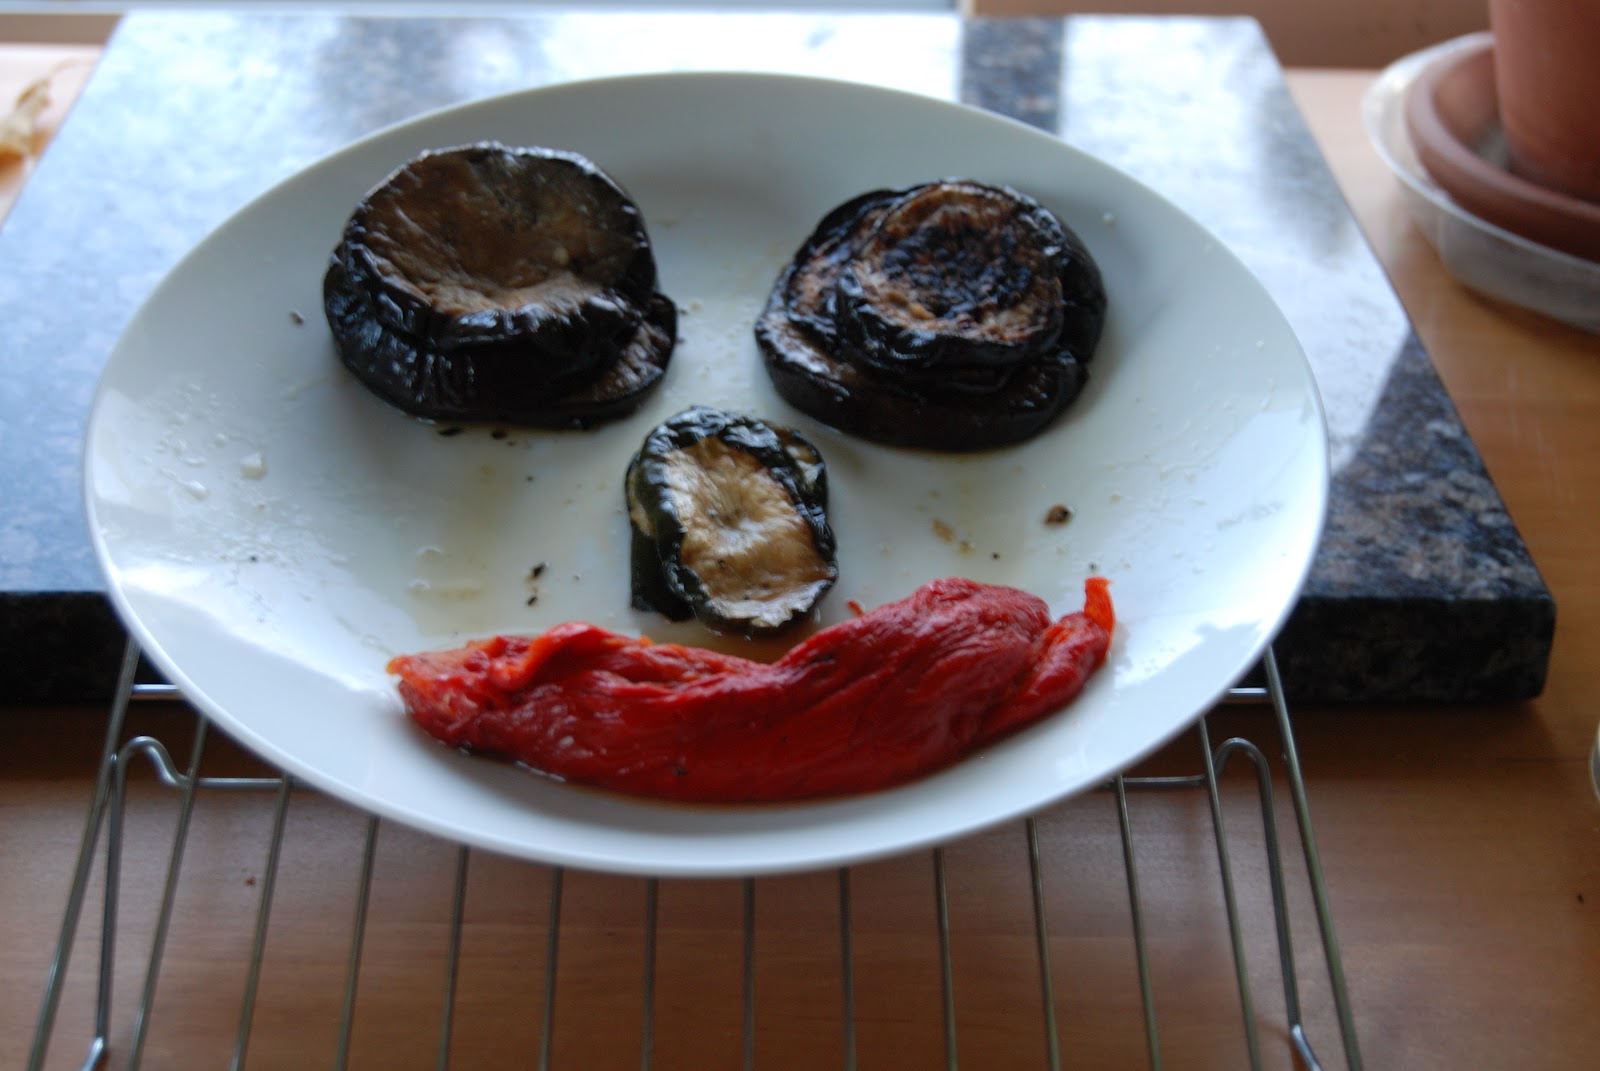
Eggplant and roasted red peppers. It isn't summer, but at dinner I might be able to close my eyes and pretend. These are being turned into panini, with thin slices of leftover meatballs and some mozzarella cheese. I love my freezer.
Subscribe to:
Posts (Atom)